Rock Spiders

posted in: Cooking | 0

rock-spiderWho doesn’t love a good Halloween spider.  This one is easy to make and adorable.  They look great on my Halloween table.  They also make great toys for the kids to play with. 


My Grandchildren and I were at the beach and picked up a bunch of large white rocks.  I had something else in mind when I was collecting them, but this worked out perfectly.  

I made pretty simple spiders.  You could get much more elaborate with these and paint the spider’s body, but I preferred to just keep them black. 


Here’s how I made them:


rock-spider-supplies

Here’s what you will need.  Rocks, black paint, eyes, pipe cleaners and glue.  I thought I was going to use the hot glue gun, but it wouldn’t stick to the rocks.

rock-spider-glue

This is the glue that I used to adhere the pipe cleaners to the rocks.  I don’t recommend letting children use this glue.  It is very strong and you have to be careful that it doesn’t get on everything.  I also used it to glue the eyes on the front of the spider.

rock-spider-black

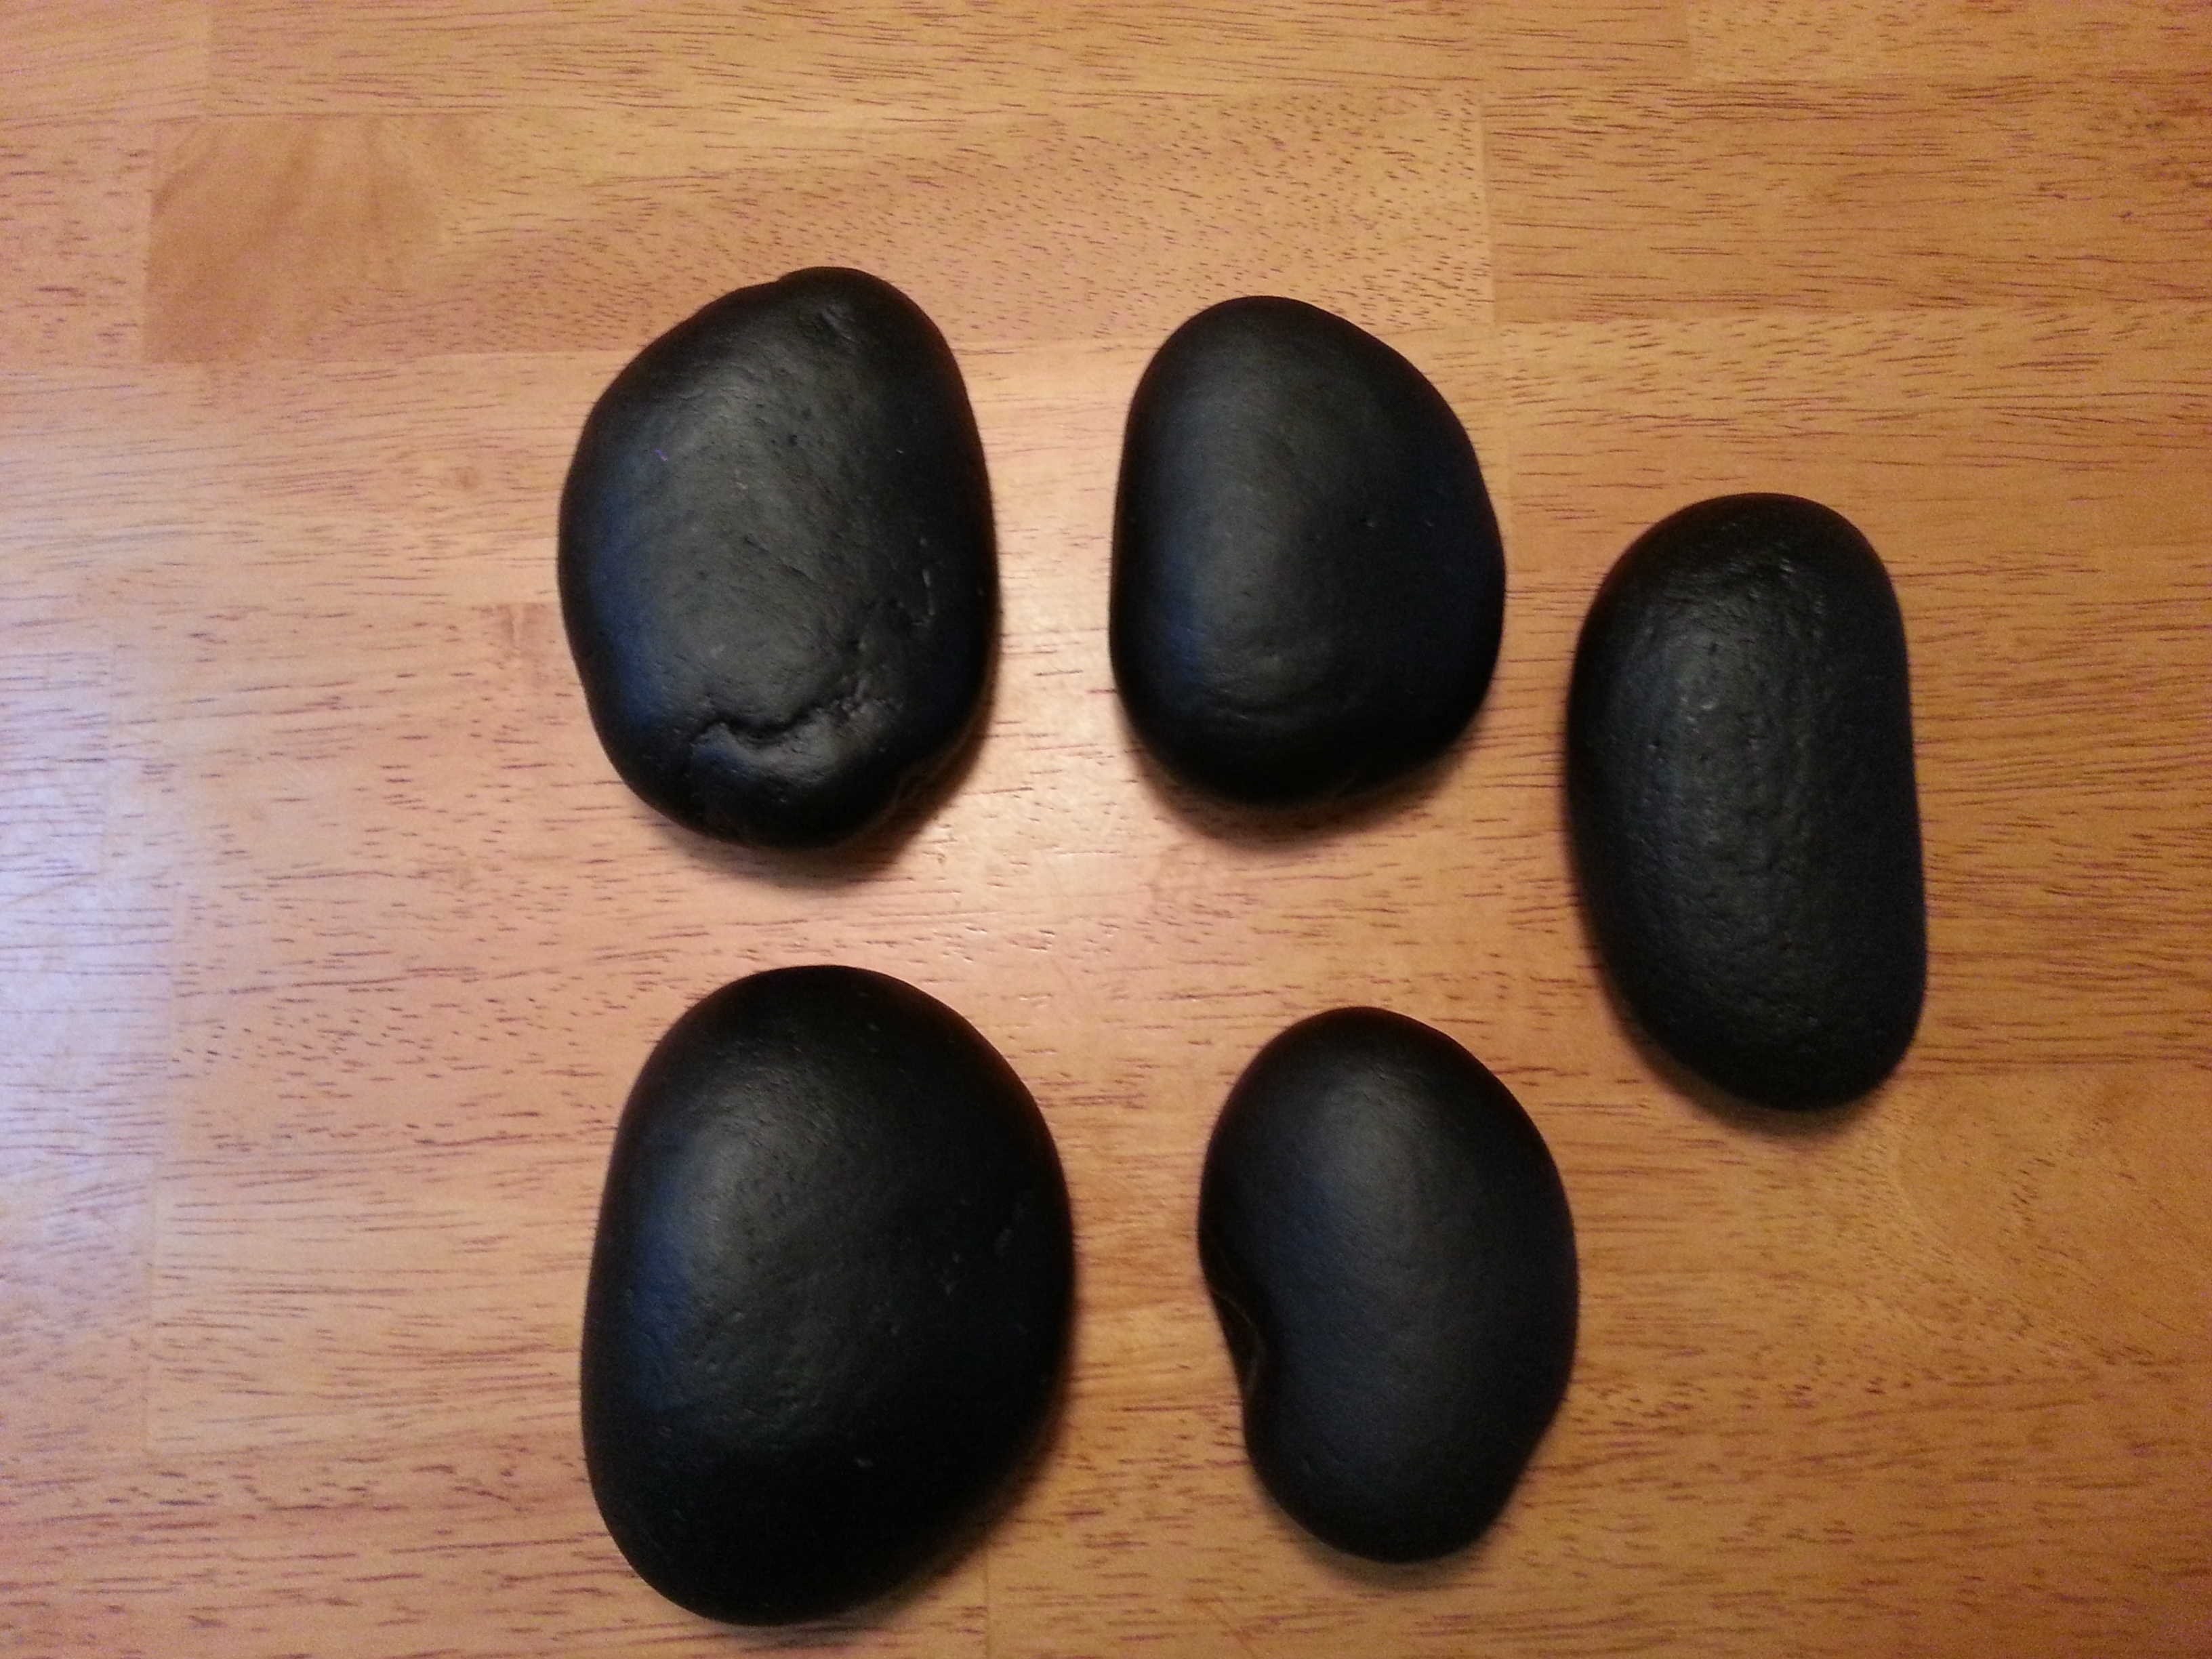
I painted the rocks black.  I only painted the top and sides.  I left the bottom white.  I didn’t want to take the chance of having black paint get on my table. 

rock-spider-back

After I glued the pipe cleaners to the rocks, I pressed a piece of paper over the glue so there wouldn’t be a chance of glue getting on my table or anywhere else.  

 The only thing left to do was put the eyes on and shape the legs, and there you have it.  A quick, inexpensive spider.  The kids love these things.  They are big enough that they can take them outside, or just play on the floor inside.  

You could also use them as place cards for your party.  Paint your guest’s name on the body of the spider so they can take them home. What a great party favor!!

rock-spider

Double Terra Cotta Pots

Triple mini clay pots

This is very easy and quick to make. I use these all through the Fall throughout the house.  I keep flowers in some and candles in others.  They are small enough that they can fit on any shelf, or as a grouping on the table.


Supplies
2 Terra Cotta Pots – 2 ½ inches
3 Craft Paint – Base color, Accent color and Gold Overlay
Paint Brush
Pipe Cleaner – Color to match your paint
Artificial Leaf and nut
Floral Pic
Styrofoam Ball – to fit in the terra cotta pot
Water resistant, epoxy glue 
Moss
Candle
Ribbon, Raffia or Twine
Hot Glue gun


Instructions First Side
1.     Glue the terra cotta pots together and let the glue dry completely.  
2.     Paint both the pots the base color.  Let dry
3.     Paint the rim of the pots an alternating color.  Let dry
4.     With a rag, rub the gold paint over both pots.  
5.     Using the clean end of the rag, wipe off most of the gold paint, leaving on a small amount so it is just accenting the piece.
6.     Hot glue the nut to the leaf and then both to the center of the pipe cleaner.  Twist the pipe cleaner around the middle of the pots.  Cut the ends close and push into the pipe cleaner. 
7.     Cut the bottom of the Styrofoam ball to fit into one side of the terra cotta pot.  Cut it so it lays flat in the pot, and does not show above the rim.
8.     Hot glue the Styrofoam ball to the inside of the terra cotta pot.  Let set.
9.  Hot glue some moss on the styrofoam to cover the entire ball.  Let set.  
10.  Insert floral pic in the Styrofoam.  (You may have to cut the stem if the pic does not sit at the top of the pot. 


Instructions Second Side
1.     Take out the floral pick and turn the terra cotta pot over
2.     Insert a candle in the empty terra cotta pot, making sure the candle is secure.
3.     Surround the candle with either small rocks or rice, then, cover them with moss.
4.     Optional:  Take the pipe cleaner off the pot and tie a ribbon, raffia or twine around the middle of the pots.  You can embellish with a fresh herb clippings.

Double Terra Cotta Pot side

I forgot to take the picture before I painted the pots….sorry.

Double terra cotta pot leaf

Double terra cotta pot leaf back

Double Terra Cotta pot Styrofoam

Dougle terra cotta pot standing

Halloween Mug

posted in: Halloween Mug | 0

Halloween Mug1

These Halloween mugs are such fun to make.  Get the whole family involved and have everyone make their own.


Supplies

White Mug

Craft Paint – Black and Orange

Round sponge stampers – 3 sizes

Baking Sheet

Halloween Mug Supplies

Halloween Mug3

Halloween Mug4

Halloween Mug2

Instructions
1.   Wash and dry mug.
2.   ***Do not put the paint where you will drink.  You should only put paint ½ – ¾ to the top of the mug. 

3.   Using the round sponge stampers, start creating your design.  Make sure that each layer of paint is completely dry before you put on another layer of paint. I put 3 layers on the mug shown.  Be creative.  You can also use a brush to add more detail to the mug.

4.  I used the end of the smaller round stamper to make the circles on the handle

Curing the Mug
1.   Place your mug on a sheet pan and place it in the oven.
2.   Put the oven on 350º and let the mug stay in the oven while it heats to 350º.
3.   Once the mug has reached 350º, put your time on for 10 minutes.
4.   Once the 10 minutes is up, turn off the oven, but LEAVE THE MUG IN THE OVEN.
5.   The mug has to stay in the oven during the preheating and the cool down stage of the oven. 


Stuffed Pumpkin

posted in: Fall Crafts, Stuffed Pumpkin | 0


Supplies

22″ Square piece of material

Rubber Bands

Stuffing

Burlap Pumpkin

Burlap

Hot Glue Gun

Brown Top Pumpkin

Brown Felt

Brown Ribbon

Brown Thread

Craft Glue


Stuffed Pumpkin1


Cut a 22″ piece of fabric.  This will make a pumpkin approximately 6″ tall and 27″ around

Stuffed Pumpkin2


Add enough stuffing to fill the pumpkin.  Using the rubber bands, hold the stuffing together to make a pumpkin shape.

Stuffed Pumpkin3


Starting at one corner, start gathering the fabric around until you are holding all the ends together

Stuffed Pumpkin5


Put a rubber band at the top of the stuffing, pulling the fabric tight into the rubber band.

Stuffed Pumpkin6


Fold down the fabric and put another rubber band around the top stem.  This should be around 3 inches.


For the Burlap Pumpkin

  1. Using a flat piece of burlap, fold both ends in and tightly fit the burlap around the pumpkin stem
  2. Put hot glue along one of the folded ends of the burlap.
  3. Hold the ends together until the glue is set.
  4. Glue the top closed
  5. Tie a ribbon with the burlap that fits just above the pumpkin

Stuffed Pumpkin7

Stuffed Pumpkin8

Stuffed Pumpkin10

Stuffed Pumpkin11


For the Brown Stem Pumpkin

Stuffed Pumpkin12

Stuffed Pumpkin13

Stuffed Pumpkin14

  1. With the brown felt, cut a piece that fits snuggly around the stem
  2. Using a needle and thread, sew the sides and top together, leaving the bottom open.
  3. Put craft glue on the stem, then put the brown felt sleeve over the stem, pulling it all the way down to the pumpkin.  Put some glue under the edges to hold them secure to the pumpkin.
  4. Tie a ribbon around the stem that sits just above the pumpkin.

Stuffed PumpkinBurlap

Stuffed Pumpkin Brown


Ghost Windsock

posted in: Ghost Windsock | 0

Ghost Windsock

This is a great craft to make with kids.  If you are a Girl or Boy Scout Leader, this is a craft that everyone would like to make. I taught a class of kids ranging in age from kindergarten through fourth grade and they all loved making it and displaying it at their homes. This takes less than an hour to make and it is very economical.


Supplies

One sheet of white, adhesive backed foam (81/2 x 11)

2 Tall white kitchen garbage bags cut into strips

1 Black sheet of adhesive backed felt


Hole Puncher

Scissors

Stapler

Ghost WS1

Ghost WS2

Punch 9 holes in the lower edge of the white craft foam.  Holding the edges together, staple the long sides together. Punch one more hole in the lower edge where you stapled it to have the holes all along the bottom edge.  10 holes total.

Ghost WS6

Ghost WS3

With the black adhesive backed felt, cut out eyes and a mouth and stick them onto the windsock.  Cut the top and sides off the tall kitchen garbage bags. Don’t cut through the bottom. Cut each bag into 8 strips.  You will only be using 11 of them.


Ghost WS4

Ghost WS5

Ghost WS5:1

Open 10 strips of the plastic bag and pull the middle through each hole making a loop.  Then, take the ends an pull them through the loop.  Pull them tight so they lay flat on the windsock.  Continue through all 10 holes so there is a strip in each hole.

Ghost WS7

Ghost WS8

Ghost WS9

At the top end of the windsock, punch 2 holes.  One on each side so the face is directly in front.  Using one strip from the garbage bag, put one end in each hole and pull it through.  Tie the ends together and pull the bag so the knot is inside the windsock, flush with the side.