Halloween Tray

posted in: Fall Crafts, Halloween Tray | 0

Boo Tray

This tray is so simple and easy.  For this one, I used scrapbooking paper but I have used napkins, paper towels, wrapping paper and cut out pictures to decoupage onto the tray.  You can use them to serve, or stand them on a shelf to display.  They also make great gifts if you are headed to a party.


Supplies
Wood Tray
Paint
Mod Podge
Paint Brush
Paper – solid, print or pictures.
Embellishments – Optional

Boo tray supplies

Instructions
1  Paint the tray a color that will coordinate with the pictures or paper that you are going to decoupage on.  Let the tray dry completely.
**If the paint is not completely dry, when you apply the Mod Podge, it will smear the paint on your picture.
2.  Lay out the pictures so you know exactly where you want everything before you glue them down.  On my tray, I put pictures on the bottom, then I cut them in small pieces for the top side.  
3.  Once you have decided on your layout, Mod Podge your pictures onto the tray.  The Mod Podge will dry clear.  Let Dry
4.  If you are using pictures only, you can now put a full coat of Mod Podge on your tray and let it dry.  You are finished.
5.  If you are using a coordinating paint to embellish your tray, now’s the time to paint.  When the paint is completely dry, Mod Podge over the entire piece.  Let Dry. 

Boo tray inst1

Boo Tray inst2

Boo Tray

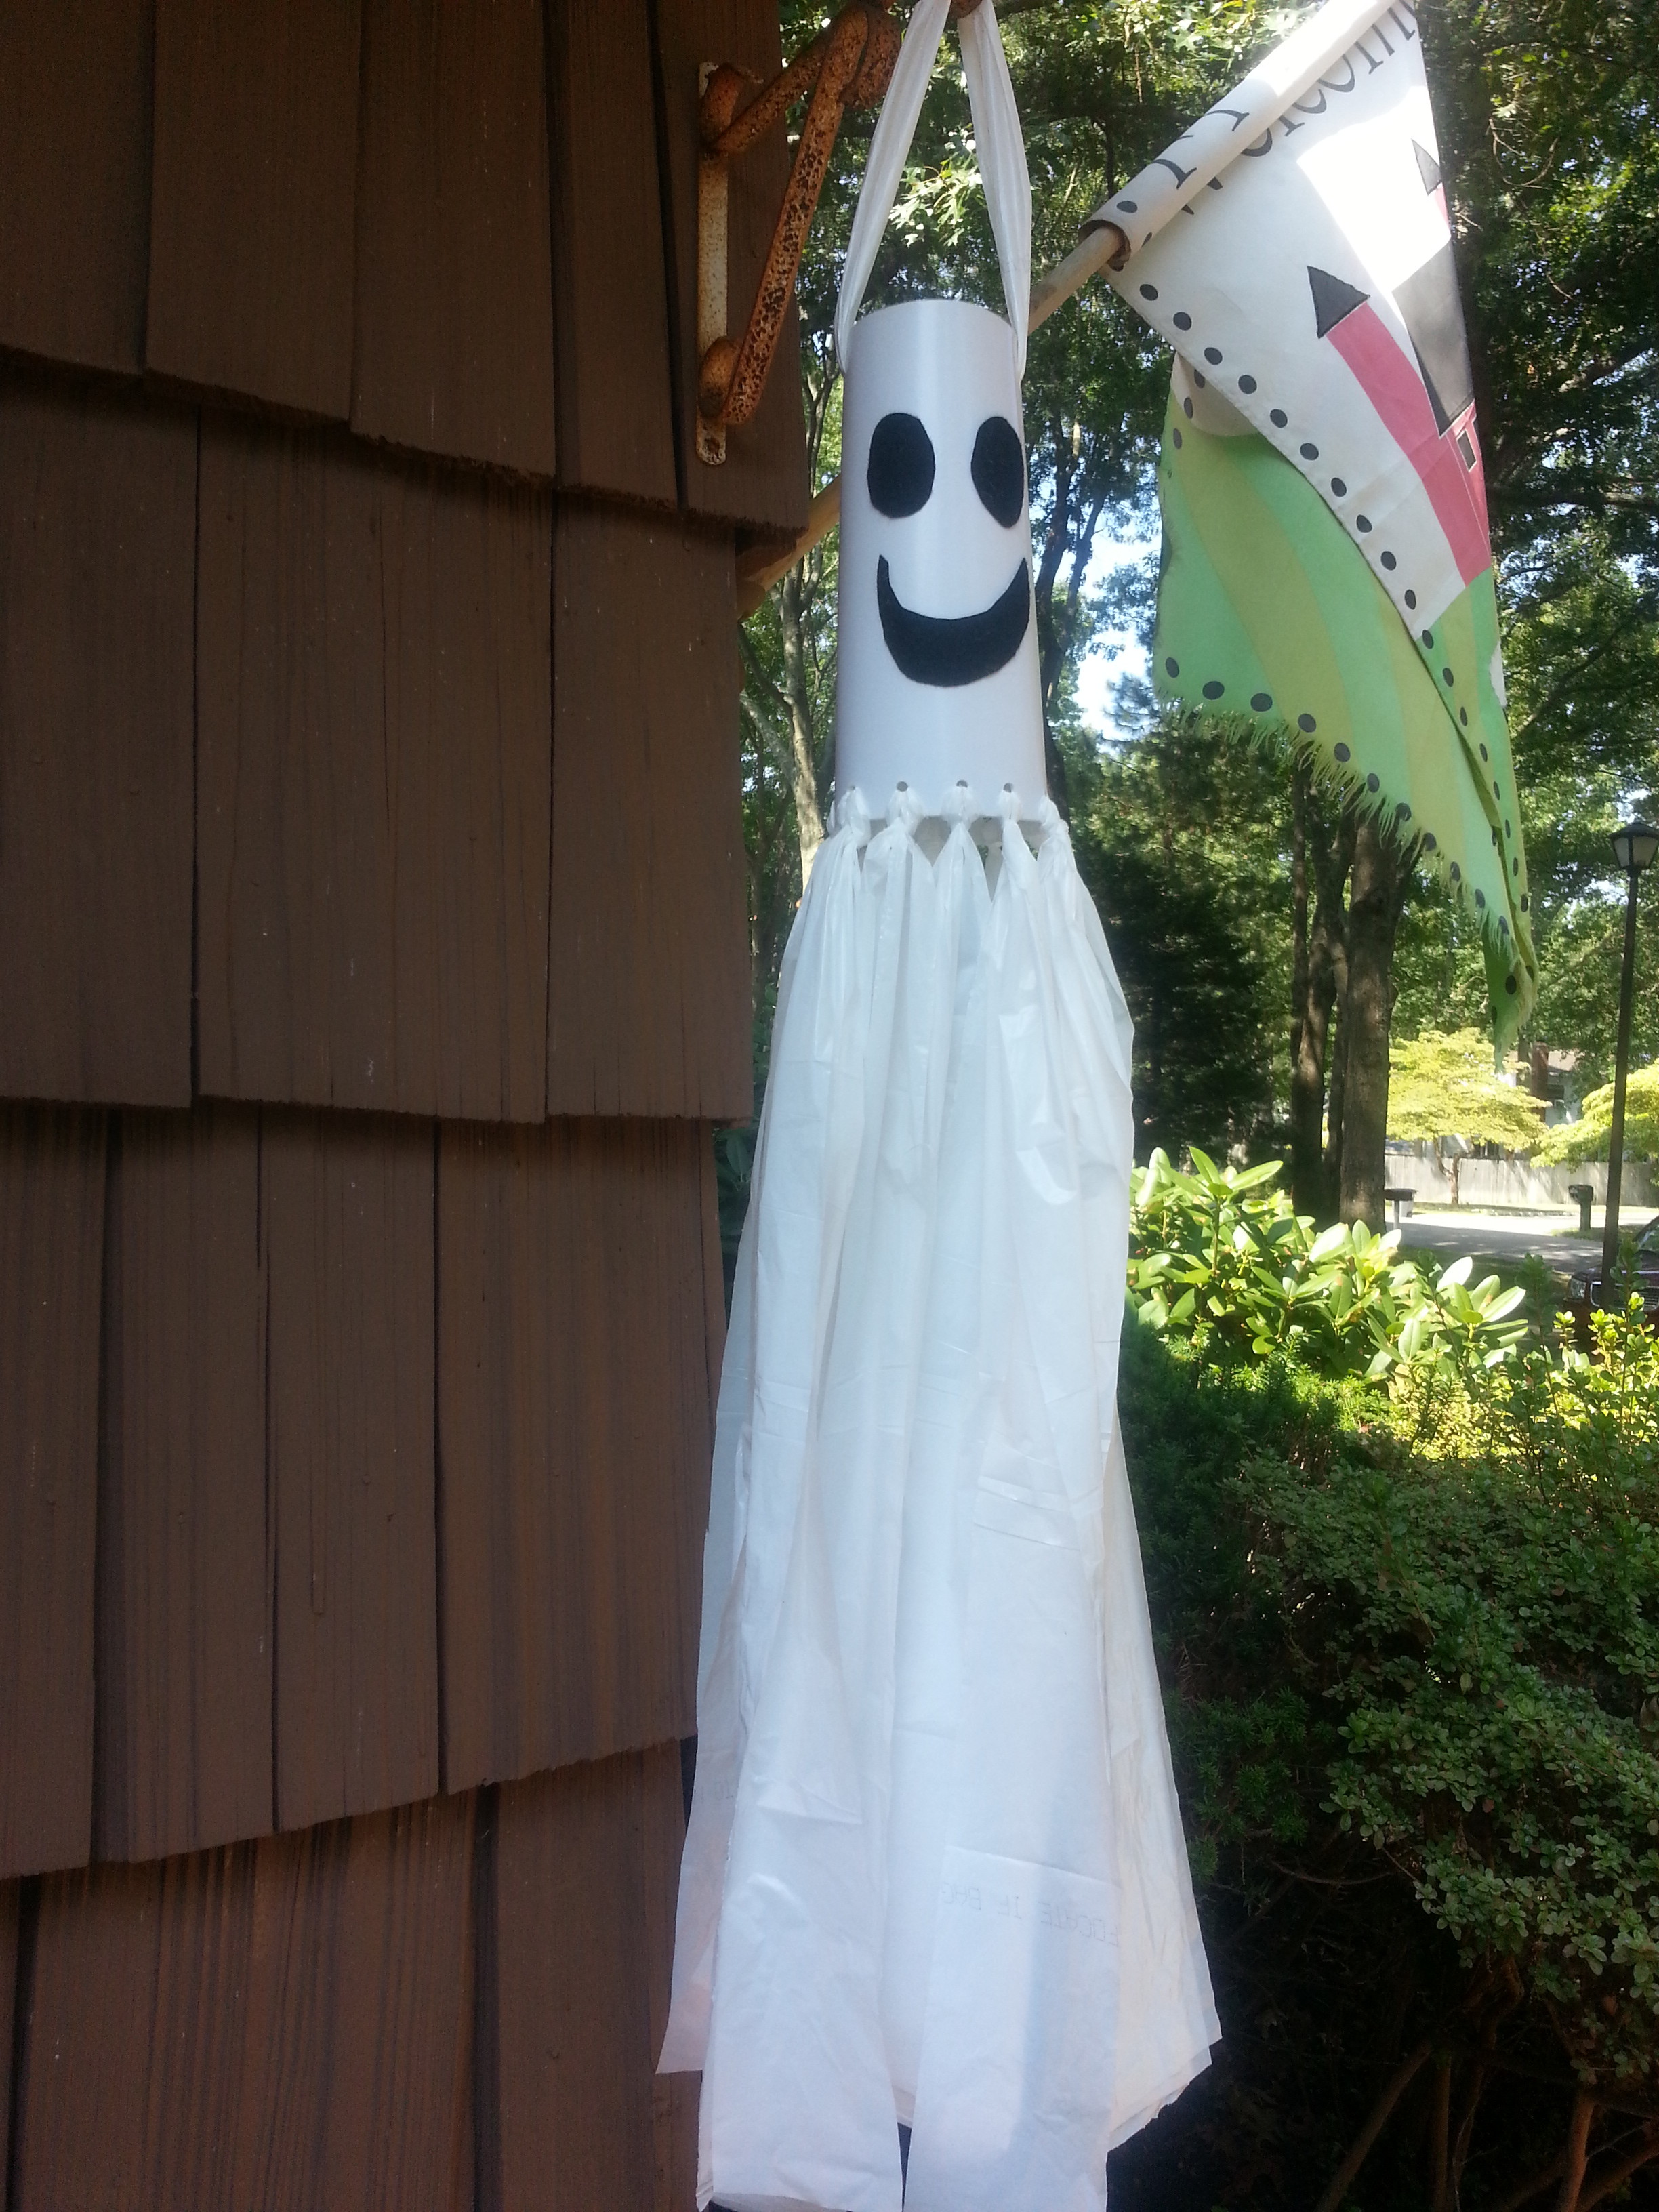
Ghost Windsock

posted in: Ghost Windsock | 0

Ghost Windsock

This is a great craft to make with kids.  If you are a Girl or Boy Scout Leader, this is a craft that everyone would like to make. I taught a class of kids ranging in age from kindergarten through fourth grade and they all loved making it and displaying it at their homes. This takes less than an hour to make and it is very economical.


Supplies

One sheet of white, adhesive backed foam (81/2 x 11)

2 Tall white kitchen garbage bags cut into strips

1 Black sheet of adhesive backed felt


Hole Puncher

Scissors

Stapler

Ghost WS1

Ghost WS2

Punch 9 holes in the lower edge of the white craft foam.  Holding the edges together, staple the long sides together. Punch one more hole in the lower edge where you stapled it to have the holes all along the bottom edge.  10 holes total.

Ghost WS6

Ghost WS3

With the black adhesive backed felt, cut out eyes and a mouth and stick them onto the windsock.  Cut the top and sides off the tall kitchen garbage bags. Don’t cut through the bottom. Cut each bag into 8 strips.  You will only be using 11 of them.


Ghost WS4

Ghost WS5

Ghost WS5:1

Open 10 strips of the plastic bag and pull the middle through each hole making a loop.  Then, take the ends an pull them through the loop.  Pull them tight so they lay flat on the windsock.  Continue through all 10 holes so there is a strip in each hole.

Ghost WS7

Ghost WS8

Ghost WS9

At the top end of the windsock, punch 2 holes.  One on each side so the face is directly in front.  Using one strip from the garbage bag, put one end in each hole and pull it through.  Tie the ends together and pull the bag so the knot is inside the windsock, flush with the side.